January 14, 2016

The Best English Muffins in the World

english muffins

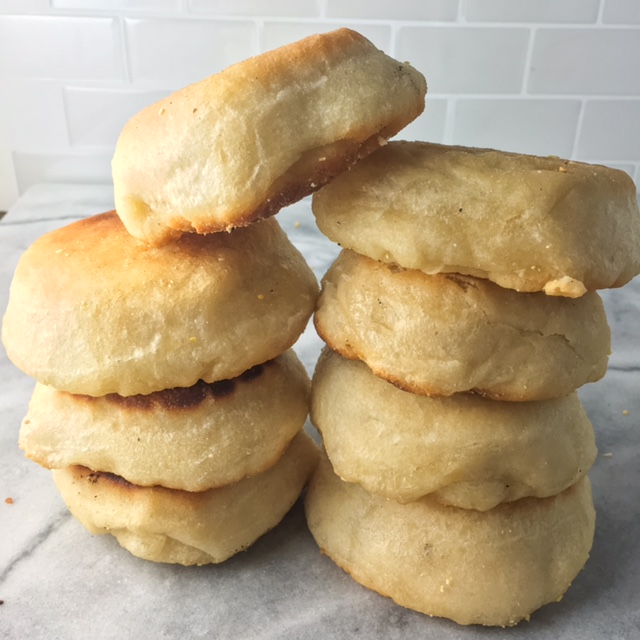
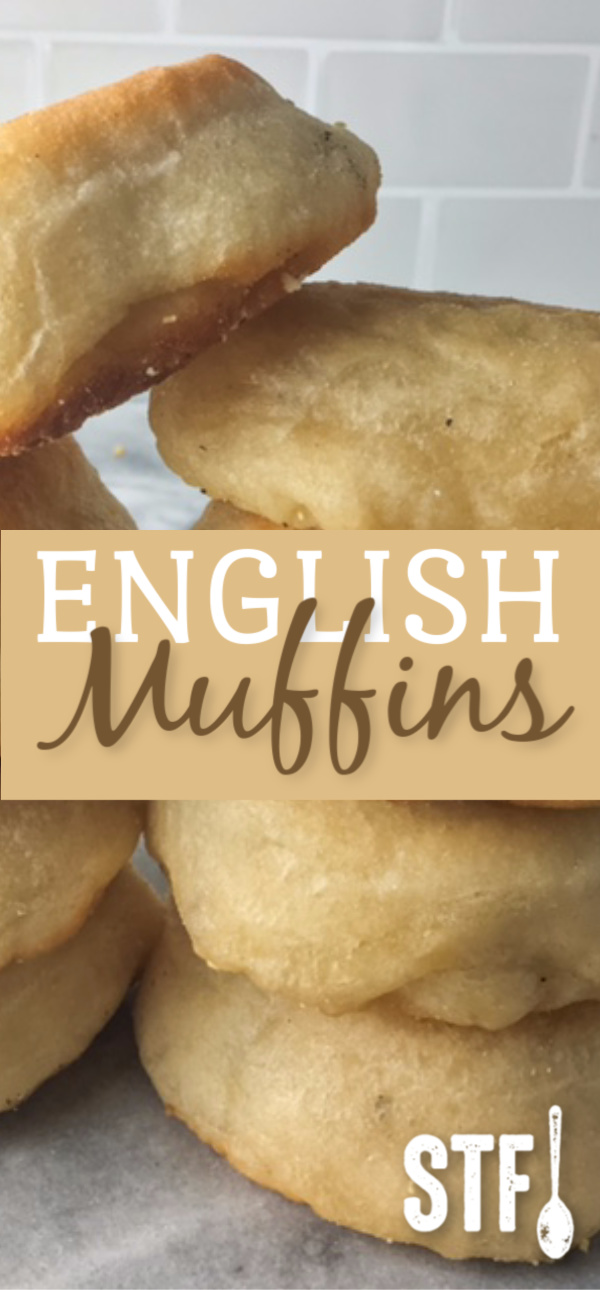
Let’s just cut to the chase, because I know we’re all busy here. These are the VERY best english muffins I’ve ever had. In fact, they’re the very best english muffins anyone has ever had. They’re that good – so good that I’m completely confident in speaking for everyone else on the planet when I proclaim their unanimous superiority, far and away out-muffin-ing any other english muffin that has ever existed.

I first tried these at a bakery in Napa called The Model Bakery. Now normally, I’m not the type of girl who goes into a bakery and orders an english muffin. I mean, who does that?? No, I’m the girl who carefully examines all the nummy options before finally settling on the most enticing cookie or tartlet or brownie or lemon square in the whole damn place. In my world, one goes into a bakery for a treat…and english muffins do not meet my standard treat qualifications. There’s no chocolate, no flaky butter crust, no ooey or gooey of any kind. An english muffin can’t stand on its own. It requires butter, it requires jam. You need a whole assortment of spreads and toppings to make the english muffin shine. So needless to say, when my friend insisted I try hers, I obliged solely because it was her birthday…and you always do what the birthday girl says.

One little bite, I conceded. Ummmmmm, it was amazing. Magic. Fireworks. Imaginary songbirds fluttering excitedly above my head, now perched high up in the fluffy, cotton-candy clouds. This was the unicorn of english muffins. Puffy, pillowy soft and fabulously flavorful, with a buttery, golden crust expertly seared into each side. I immediately ordered one of my very own, returning again the next morning for yet another. Then I was forced to return home, home to a cold, dark land of no english muffins. I couldn’t get them out of my head. I HAD to get another fix. So naturally, I began scouring the net for the recipe, when what luck – there was a cookbook! The Model Bakery cookbook, to be exact. And what was the feature recipe?? Why, their signature english muffins, of course. SCORE.

So I made them. And they were just as fabulous as I remembered. And I’m not being the least bit dramatic when I say that tears of joy were shed.

One of the bread-baking techniques I was introduced to with this recipe is the principle of the biga (pronounced bee-gah – you’re welcome). The biga is basically a thick, little ball of starter dough. You mix it up the day before you want to make your bread and stick it in the fridge overnight to do its thang. When mixed in with the rest of the dough ingredients the next day, it adds complexity of flavor, imparts a light, hole-y texture and even helps preserve the bread (not really necessary with these, as they’re so crazy delicious, they’re typically gone within a day anyhow). The biga makes a BIGa difference (yeah, I know you see what I did there).

Now, I’m gonna be honest: these aren’t one of those things you just whip up on a random Tuesday. They require time, planning and effort. There are multiple steps, and you’re working with yeast, which can really freak some people out. But not you. You’re gonna make this happen, because you need these english muffins in your life. Each time I’ve made these, my technique has gotten better and faster, so just take it easy on yourself. First, read the recipe allllllll the way through, make sure you’ve got your ducks in a row, then just go for it. Take one step at a time.

This is one of those life-changing recipes that makes you want to quit doing all the other things that cut into the time you could be using for english muffin consumption (like work and showering), in order to focus solely on the muffins. Try them, I beg of you. You’ll never look back.

Print Recipe
The Best English Muffins in the World
These are hands down the most insanely delicious english muffins you will ever have in your life. Quote me. Needlepoint it onto a pillow. Carve it onto a tree. Etch it into stone. Because no matter what happens from henceforth, there is absolutely nothing that can be done to improve upon the flavor, texture, appearance or enticing aroma of these puffy little muffins. It may seem like a lot of steps, but they're all easy steps, and much of it is hands-off. Regardless, it's totally worth it. And as with anything, the more you do it, the easier it gets. Just make sure you account for all the hands-off rising time.
Votes: 52
Rating: 3.29
You:
Rate this recipe!
Courses Bread
Servings
muffins
Ingredients
Courses Bread
Servings
muffins
Ingredients
Votes: 52
Rating: 3.29
You:
Rate this recipe!
Instructions
  1. To make the biga:
  2. At least 1 day before cooking the muffins, combine the flour, water and yeast in a small bowl to make a sticky dough. Cover tightly with foil and refrigerate for at least 12 hours, or up to 24 hours. It will rise slightly.
  3. To make the dough:
  4. Combine the biga, water, yeast, olive oil and salt in the bowl of a stand mixer fitted with the paddle attachment. Mix on low speed until the mixture looks creamy, about a minute. Mix in 3 cups of the all-purpose flour to make a soft, sticky dough. Cover the bowl with a clean kitchen towel and let rest for 20 minutes.
  5. On low speed, mix in the remaining 1/2 cup of all-purpose flour to make a soft dough that barely cleans the sides of the mixer bowl. Replace the paddle attachment with the dough hook, and knead on medium-low speed until the dough is smooth and elastic, about 8 minutes.
  6. Turn out the dough onto a lightly floured work surface (I use a piece of parchment paper sprinkled with flour) to check its texture. It should feel slightly tacky, but not stick to the work surface. Shape into a big ball and put it into a large oiled bowl (To oil the bowl, I drizzle a bit of olive oil into it, then use a paper towel or my clean hand to wipe the oil around the whole interior). Cover with a clean kitchen towel and let it rest in a warm spot (I use the warmed microwave) until doubled in volume, about 2 hours or so.
  7. Scrape the dough out of the bowl back onto the floured work surface, then cut into 12 equal pieces (I use a pastry cutter, but a chef's knife or pizza wheel work well too). Cover a baking sheet with parchment paper, then sprinkle with an even layer of cornmeal. Shape each dough piece into a 4-inch round and place on the baking sheet, turning to coat both sides in cornmeal. Loosely cover with a clean kitchen towel and let rest in a warm spot until the rounds have puffed up (do the finger test: a finger pressed into a round should leave an impression for only a few seconds before puffing back up again), about an hour.
  8. Melt 2 tbsp ghee in a large cast-iron skillet over medium heat. In batches, add the dough rounds to the skillet, cooking until each side is light golden brown, about 3-5 minutes per side. Transfer to a baking sheet or cooling rack lined with paper towels and let cool for at least 20 minutes (they'll finish cooking through carry-over heat during this time period, so as tempting as they are, let 'em chill for a few before digging in). Repeat with the remaining rounds, wiping the cornmeal out of the skillet with bunched-up paper towels and adding more ghee as needed.
  9. Prepare yourself for a tastebud explosion of the highest caliber. Bask in the muffin glory. Then make sure you have enough kleenex for the flood of tears that will wash over you the second you realize there are only a dozen of these little guys.


Leave a Reply

Your email address will not be published. Required fields are marked *